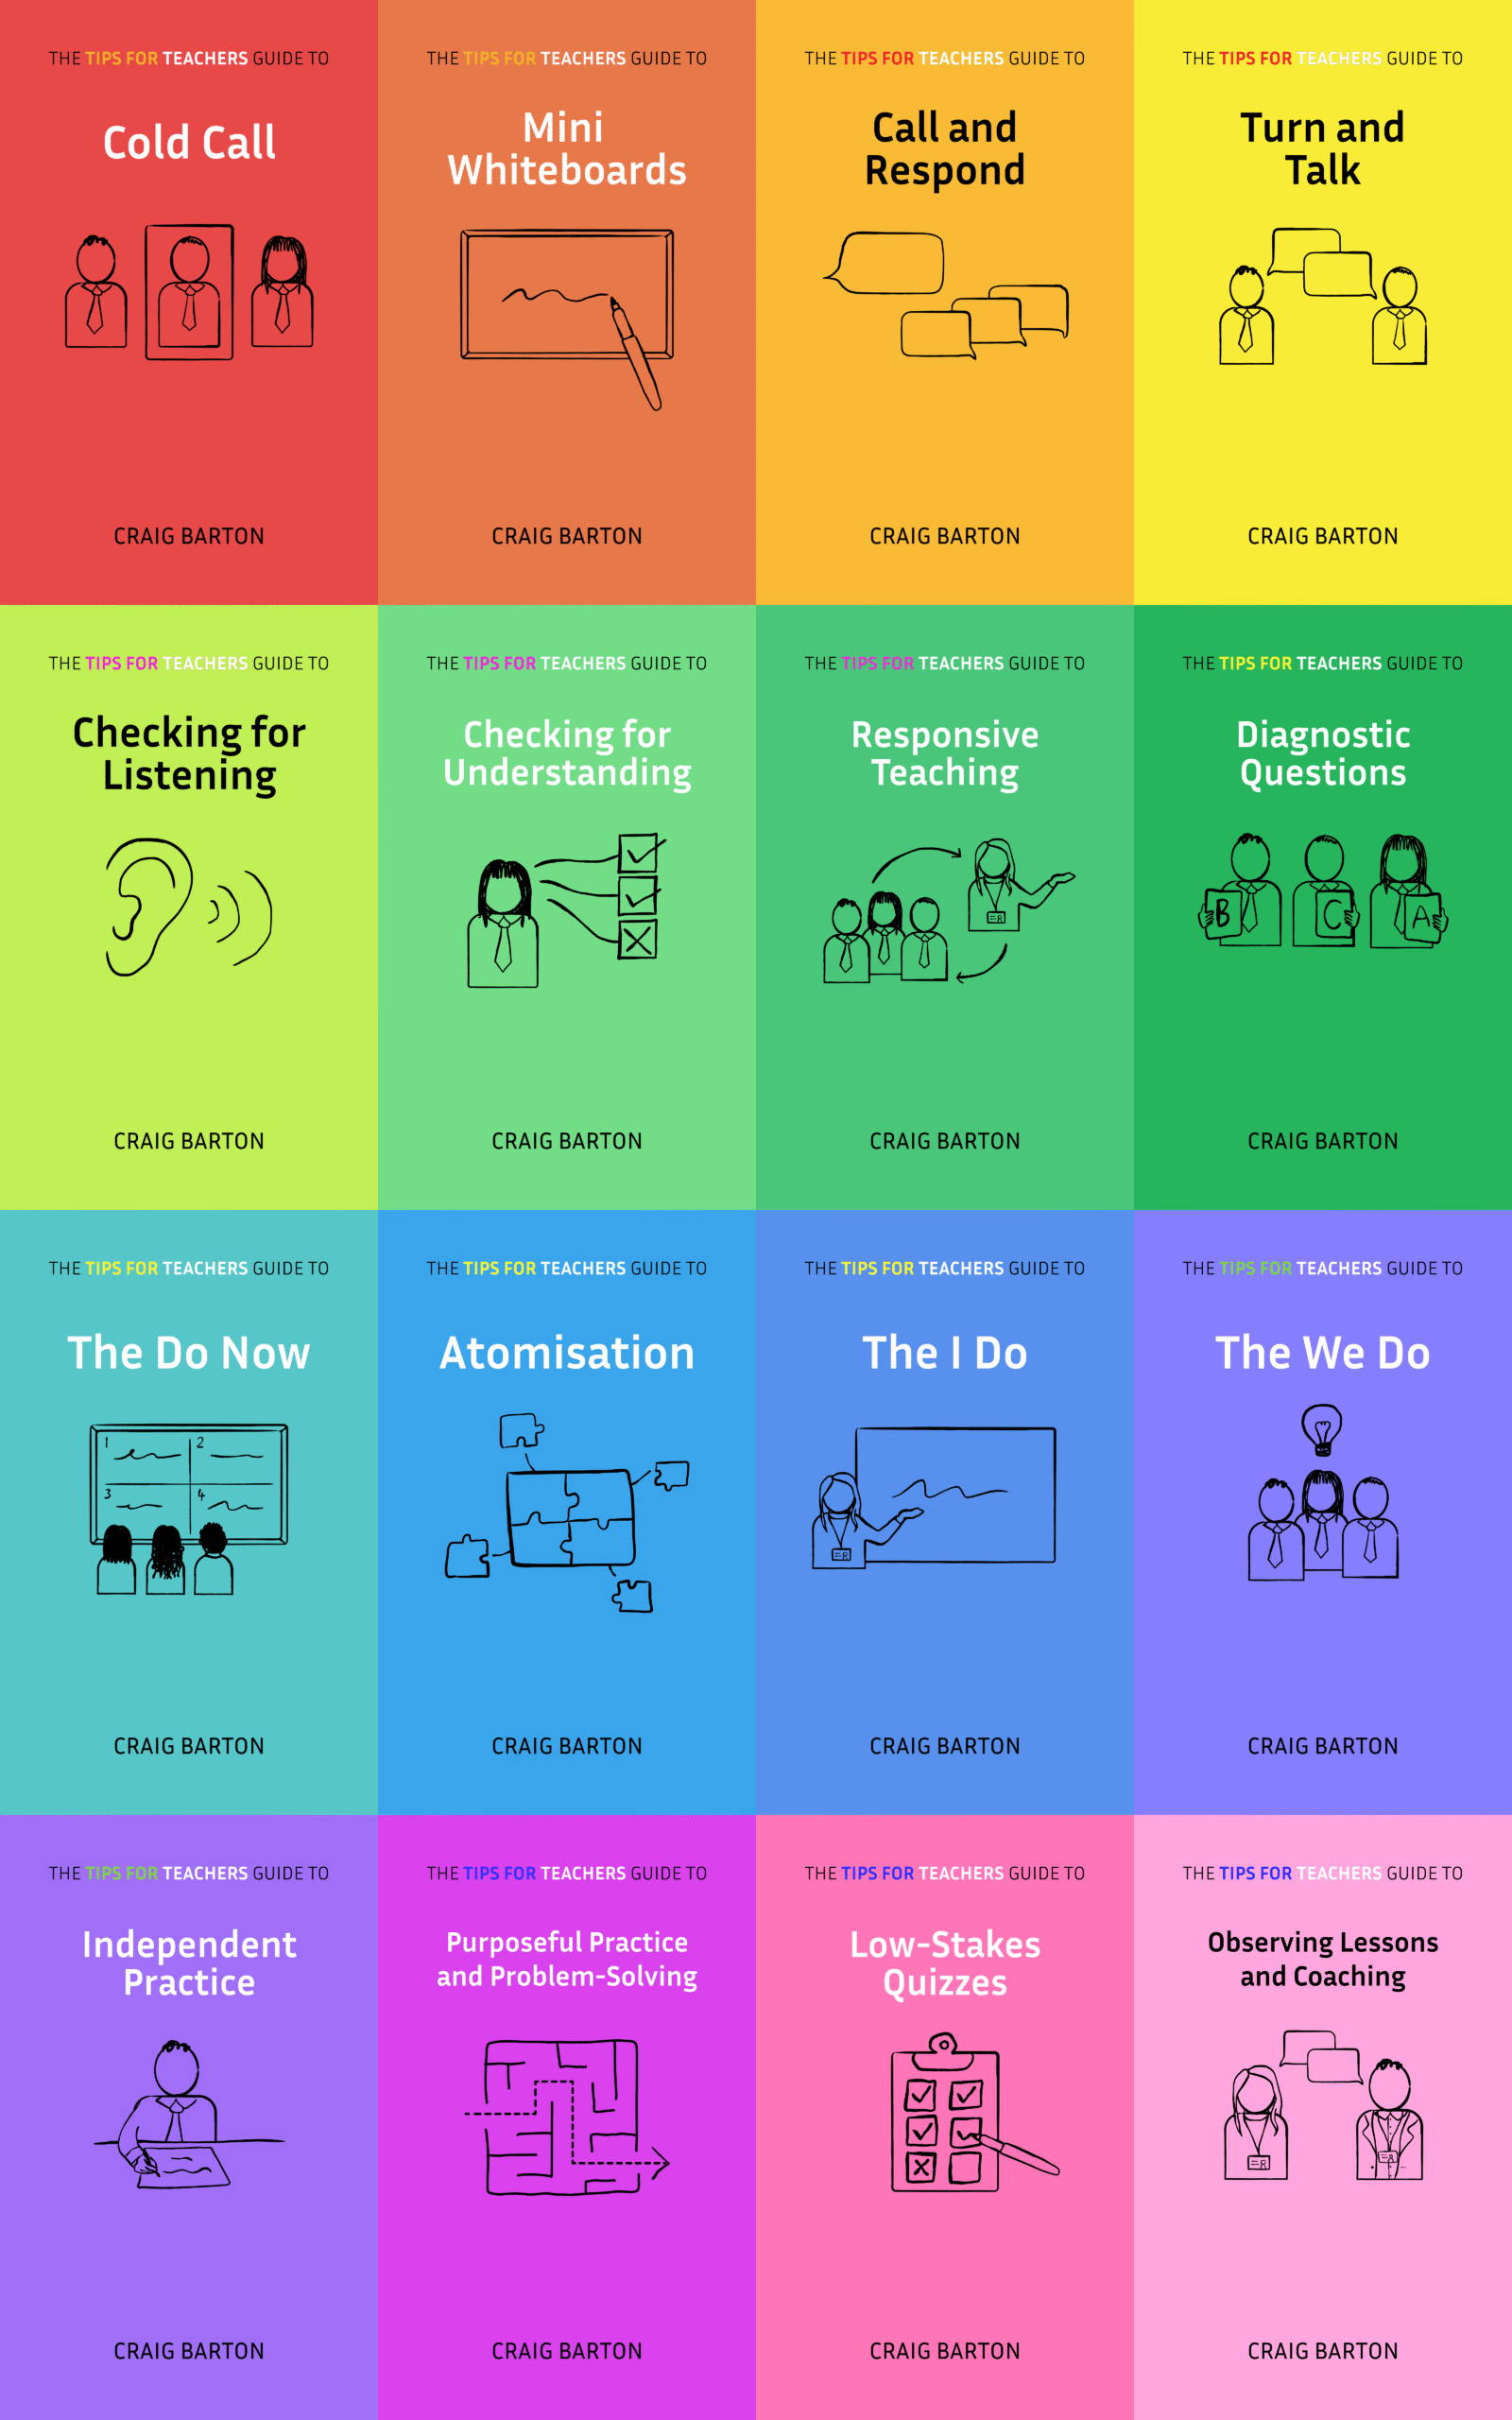
Consolidation is where students can practice the skills the teacher has just modelled. When the Consolidation phase of a Learning Episode is well executed, it can help students develop competence and confidence.
Diagnosis
- What does the Consolidation phase of your lesson look like?
- What challenges do you face?
Evidence
There are several ways I see the consolidation phase go wrong in many of the maths lessons I watch:
- A poor choice of questions. Questions are grabbed from the internet or the departmental folder and used with little thought.
- Students lack the knowledge to access the questions. A sure sign is when several hands immediately shoot into the air as soon as the consolidation phase begins.
- Not enough time is given to consolidation. For a variety of reasons, getting to this stage of the lesson has taken so much time that only a few rushed minutes remain for students to practice.
- Students don’t put in the required effort. Students choose this phase of the lesson to go off task and take a cognitive break.
- The teachers does not effectively check for understanding. Answers are projected onto the board, students are told to tick the ones they got right, correct the ones they got wrong, and that is that.
This presents us with a problem because we know that providing students with an opportunity to consolidate is crucial to helping them learn.
Research suggests that students perform better in maths when their teacher spends more time on individual practice and assessment. This is because consolidation helps students develop automaticity. To quote Professor Daniel Willingham in Why Don’t Students Like School?: “It is virtually impossible to become proficient at a mental task without extended practice”.
If we do not allow students to master the basics of a procedure, they have little chance of applying that procedure to solve problems.
Solution steps
Part 1: Where does Consolidation fit into a Learning Episode?
In a previous section, I shared my Building Blocks of a Learning Episode:

Consolidation comes after the We Do and before Purposeful Practice. Its purpose is to solidify the skills the teacher has modelled, preparing students to use those skills more complexly.
Part 2: What do good Consolidation exercises look like?
Good sets of Consolidation questions need to strike the balance between:
- Not being so similar that students can stop thinking once they have done one or two questions
- Not being so different that students are unable to draw connections and begin to develop automaticity
As we have seen, when students work on easy tasks they find uninteresting, they may need to invest additional mental effort to stay on task. So, the task needs to appeal to students’ interests.
The sequence should progress in difficulty to challenge students as they become more proficient. However, the jumps in question difficulty should not be so great as to confuse constantly.
Every maths teacher will have their favourite sources. In no particular order, here are some of mine:
1. Corbett Maths textbook exercises
For example, this ordering decimals activity:

For example, this substitution activity:

3. Dr Frost
For example, this activity on angles in parallel lines:

For example, this area of a trapezium activity:

5. MathsPad
For example, this activity to introduce area:

6. Median
For example, this decimal sequences activity:

7. Increasingly difficult questions
For example, this activity on factorising:

For example, this activity on the length of a line segment:

Notice the common features of each of these activities:
- There are plenty of opportunities to consolidate
- There is a good progression of difficulty
Maths teachers will know that there is an almost endless supply of content available on the internet for us to choose from. Whilst this is undoubtedly a good thing and a testament to the generosity of many members of our profession, there are two issues with this:
- Search costs – lots of time is spent searching for resources
- Quality assurance – it can be difficult to determine what is a quality resource without either experience or dedicating time to working through it thoroughly
For these reasons, I always recommend that heads of department and other experienced teachers curate a small number of Consolidation resources for each topic that has passed their quality-assurance test so that other teachers can spend time preparing for lessons.
Part 3: Intelligent Practice
The final source of Consolidation activity mentioned in the section above is from my Variation Theory website. It is a special type of practice that I call Intelligent Practice.
I love Intelligent Practice so much that I wrote a book about it, and built a website to share the sequences I have created and house those created by teachers all around the world.
Here is one of my favourites:

The basic idea
Intelligent Practice is a type of practice where consecutive questions are carefully related to each other. Usually, just one thing has changed between one question and the next. In the example above, a single yellow counter has been added to the example in Question 2 to give the example in Question 3. The challenge for students is to think about what impact that change will have on their answers.
Why Intelligent Practice is a good idea
The following quote sums up the key principle underpinning Intelligent Practice:
When certain aspects of a phenomenon vary when its other aspects are kept constant, those aspects that vary are discerned (Lo, Chik & Pang, 2006)
By holding constant as much as possible and varying one element, we can direct students’ attention to that element that has varied. Any change (or lack of) in the answer or approach to getting the answer may be attributed to the variation in the element. Moreover, because each example is related to the preceding one, students can form expectations as to the answer. I call this process Reflect, Expect, Check, Explain. This can lead to moments of surprise, revelation and discussion, compelling students to think more deeply about the processes involved, instead of just cruising through a sequence of questions on autopilot.
Intelligent Practice: 10 top tips
- Ensure that more straightforward consolidation practice comes first. Before taking on Intelligent Practice, give students some unrelated questions on the topic. During Intelligent Practice, we are asking students to pay attention to two things: the procedure needed to solve the problem and the relationships between examples. If students do not have a certain competence and confidence with the procedure, they will be unable to attend sufficiently to the relationships and thus not get much out of Intelligent Practice. A few warm-up questions on the topic where students do not need to think about the relationship between them will help.
- Support students to Reflect. We need to encourage students to pause and Reflect before they dive into working out the answer to a problem in an Intelligent Practice sequence. For example, take the following pair of questions from a sequence on estimating the mean from grouped frequency:


The student has calculated that the answer to Question 5 is 50kg. Before they calculate Question 6, we need them to pause and ask themselves: What has changed, and what has stayed the same? This brief moment of reflection sets up everything that follows.

- Support students to Expect. Based on what they noticed during their reflection, can students form an expectation about how the answer to Question 6 might change? Will it be greater than 50kg, less than 50kg, or equal to 50kg? Some students might like to put a specific number on it. One of the benefits of the Expect phase is it makes these examples mean more to students. Having formed an expectation, students are keen to find out if they are correct or not – they have skin in the game. Many students, understandably, struggle with the Expect stage of the process, so here are some support prompts I use to help students:

- Support students to Check. We now need to ensure that students carry out the algorithm. Some students will be keen to skip out this stage, so certain as they are in their expectations. So, we must circulate and check students are setting their working out as we have asked and not taking shortcuts.

- Support students to Explain. This is the fun part. Once students have worked out the answer, one of three scenarios could occur, and for each, we need to support them in their thinking:

- Use the 4-2 approach. Students work on their own, in silence, for 4 minutes, and then have 2 minutes of collaboration with their partner, before the cycle repeats. I find 4 minutes is sufficient time for students to do some thinking on their own without being dominated by an eager partner (there is nothing worse than someone telling you about the relationship before you have had a chance to think for yourself), and 2 minutes is sufficiently short for the students to have a positive, focused paired discussion to compare their reflections, expectations, answers and their explanations.
- Consider doing this with the whole class at the same time. The approach I have described so far is aimed at students working independently through a sequence of questions. But you can also run Intelligent Practice sequences to the whole class, controlling the pace by only revealing one example at a time. For example, consider this sequence from the OUP Mosiac maths series that I have series edited:
Project the first question on the board and ask students to work out the perimeter, which is 28:

Then we can project the next example on the board, next to it:

Students can be prompted to reflect on what has changed, and then form an expectation about what happens to the perimeter (does it increase, decrease, or stay the same), and show this on their mini-whiteboards. Students can then put their boards together, and share their reasoning with their partner, before checking their answers and continuing the discussion as they seek to explain what has happened.
The advantages of this approach are that you can direct all students to Reflect, Expect, Check and Explain, and coordinate a discussion where students hear the thinking of several of their classmates. The disadvantage is that not everyone works at the same speed, so you are likely to move too quickly for some, and too slowly for others. Doing the first few questions with the whole class and then switching to independent mode is a nice way to get the best of both worlds.
- Consider asking students to explain just one relationship. In the early days, I used to ask students to write me a sentence for Reflect, a sentence for Expect, show all their working for Check, and then potentially a paragraph for Explain. This was too much for some students, took too long, and got in the way of their mathematical thinking. Now, I ask students to form reflections and expectations in their heads, show all their working out, pause to explain, and then move on. But at the end of the sequence, I will ask students to write up their explanation for one relationship. This will either be one I have chosen in advance (so everyone does the same, and we can discuss afterwards), or one each student selects (so they can choose the one they feel most confident in explaining, and thus have more buy-in).
- Try a Fill in the Gaps activity. A popular variation of Intelligent Practice sequences are Fill in the Gaps activities – you can find these by typing “Fill in the Gaps” in the search box on the variation theory website. These are exactly as you would imagine, with the only difference being that relationships exist between the rows, so we need to prompt students to pause and Reflect after each completed row before they dive into the next. Here is one of my favourites:

- Try a Variation Spider activity. Another spin-off! This time, each example on the outside of the spider is related to the example in the middle. Students also have a challenge in the bottom-left corner where they must come up with the question, and a challenge in the bottom-right corner where they must come up with a related question and answer. I like this one:

Three of my favourite Intelligent Practice activities:
Challenge your students with some of these… or enjoy trying them yourself. Remember, you can find all my Intelligent Practice activities here, and read more about how I use them in my Reflect, Expect, Check, Explain book.

Greater than, less than or equal to 0.5:


Part 4: Maximising the participation ratio during Consolidation
Once we have chosen a good Consolidation exercise, the next step is to ensure as many students as possible are thinking during it. This is where we can follow the strategies outlined in the Maximising the participation ratio during independent practice section:
- Give clear instructions
- Plan the first 3 minutes
- Circulate strategically
- Give students a calculator
- Use the 4-2 Approach
- Get data from all students when going through answers
Part 5: How much Consolidation practice is needed?
This is the million-dollar question. The answer is influenced by factors such as the topic, the student, and their previous experience. But, in general, students may not need as much Consolidation practice as we might suspect. This is for two reasons:
- As we have seen, the We Do provides an opportunity to provide consolidation practice at a whole class level.
- As we will see, the high-value Purposeful Practice structures have consolidation built into them.
However, I always give students at least five minutes of silent, independent consolidation practice so they can get to grips a procedure at their own pace.
Implementation planning
Here are the ideas we have discussed:
- What does good consolidation look like?
- Intelligent practice
- Maximising the participation ratio during consolidation
- How much consolidation practice is needed
Use these ideas to complete the prioritisation exercise here.

