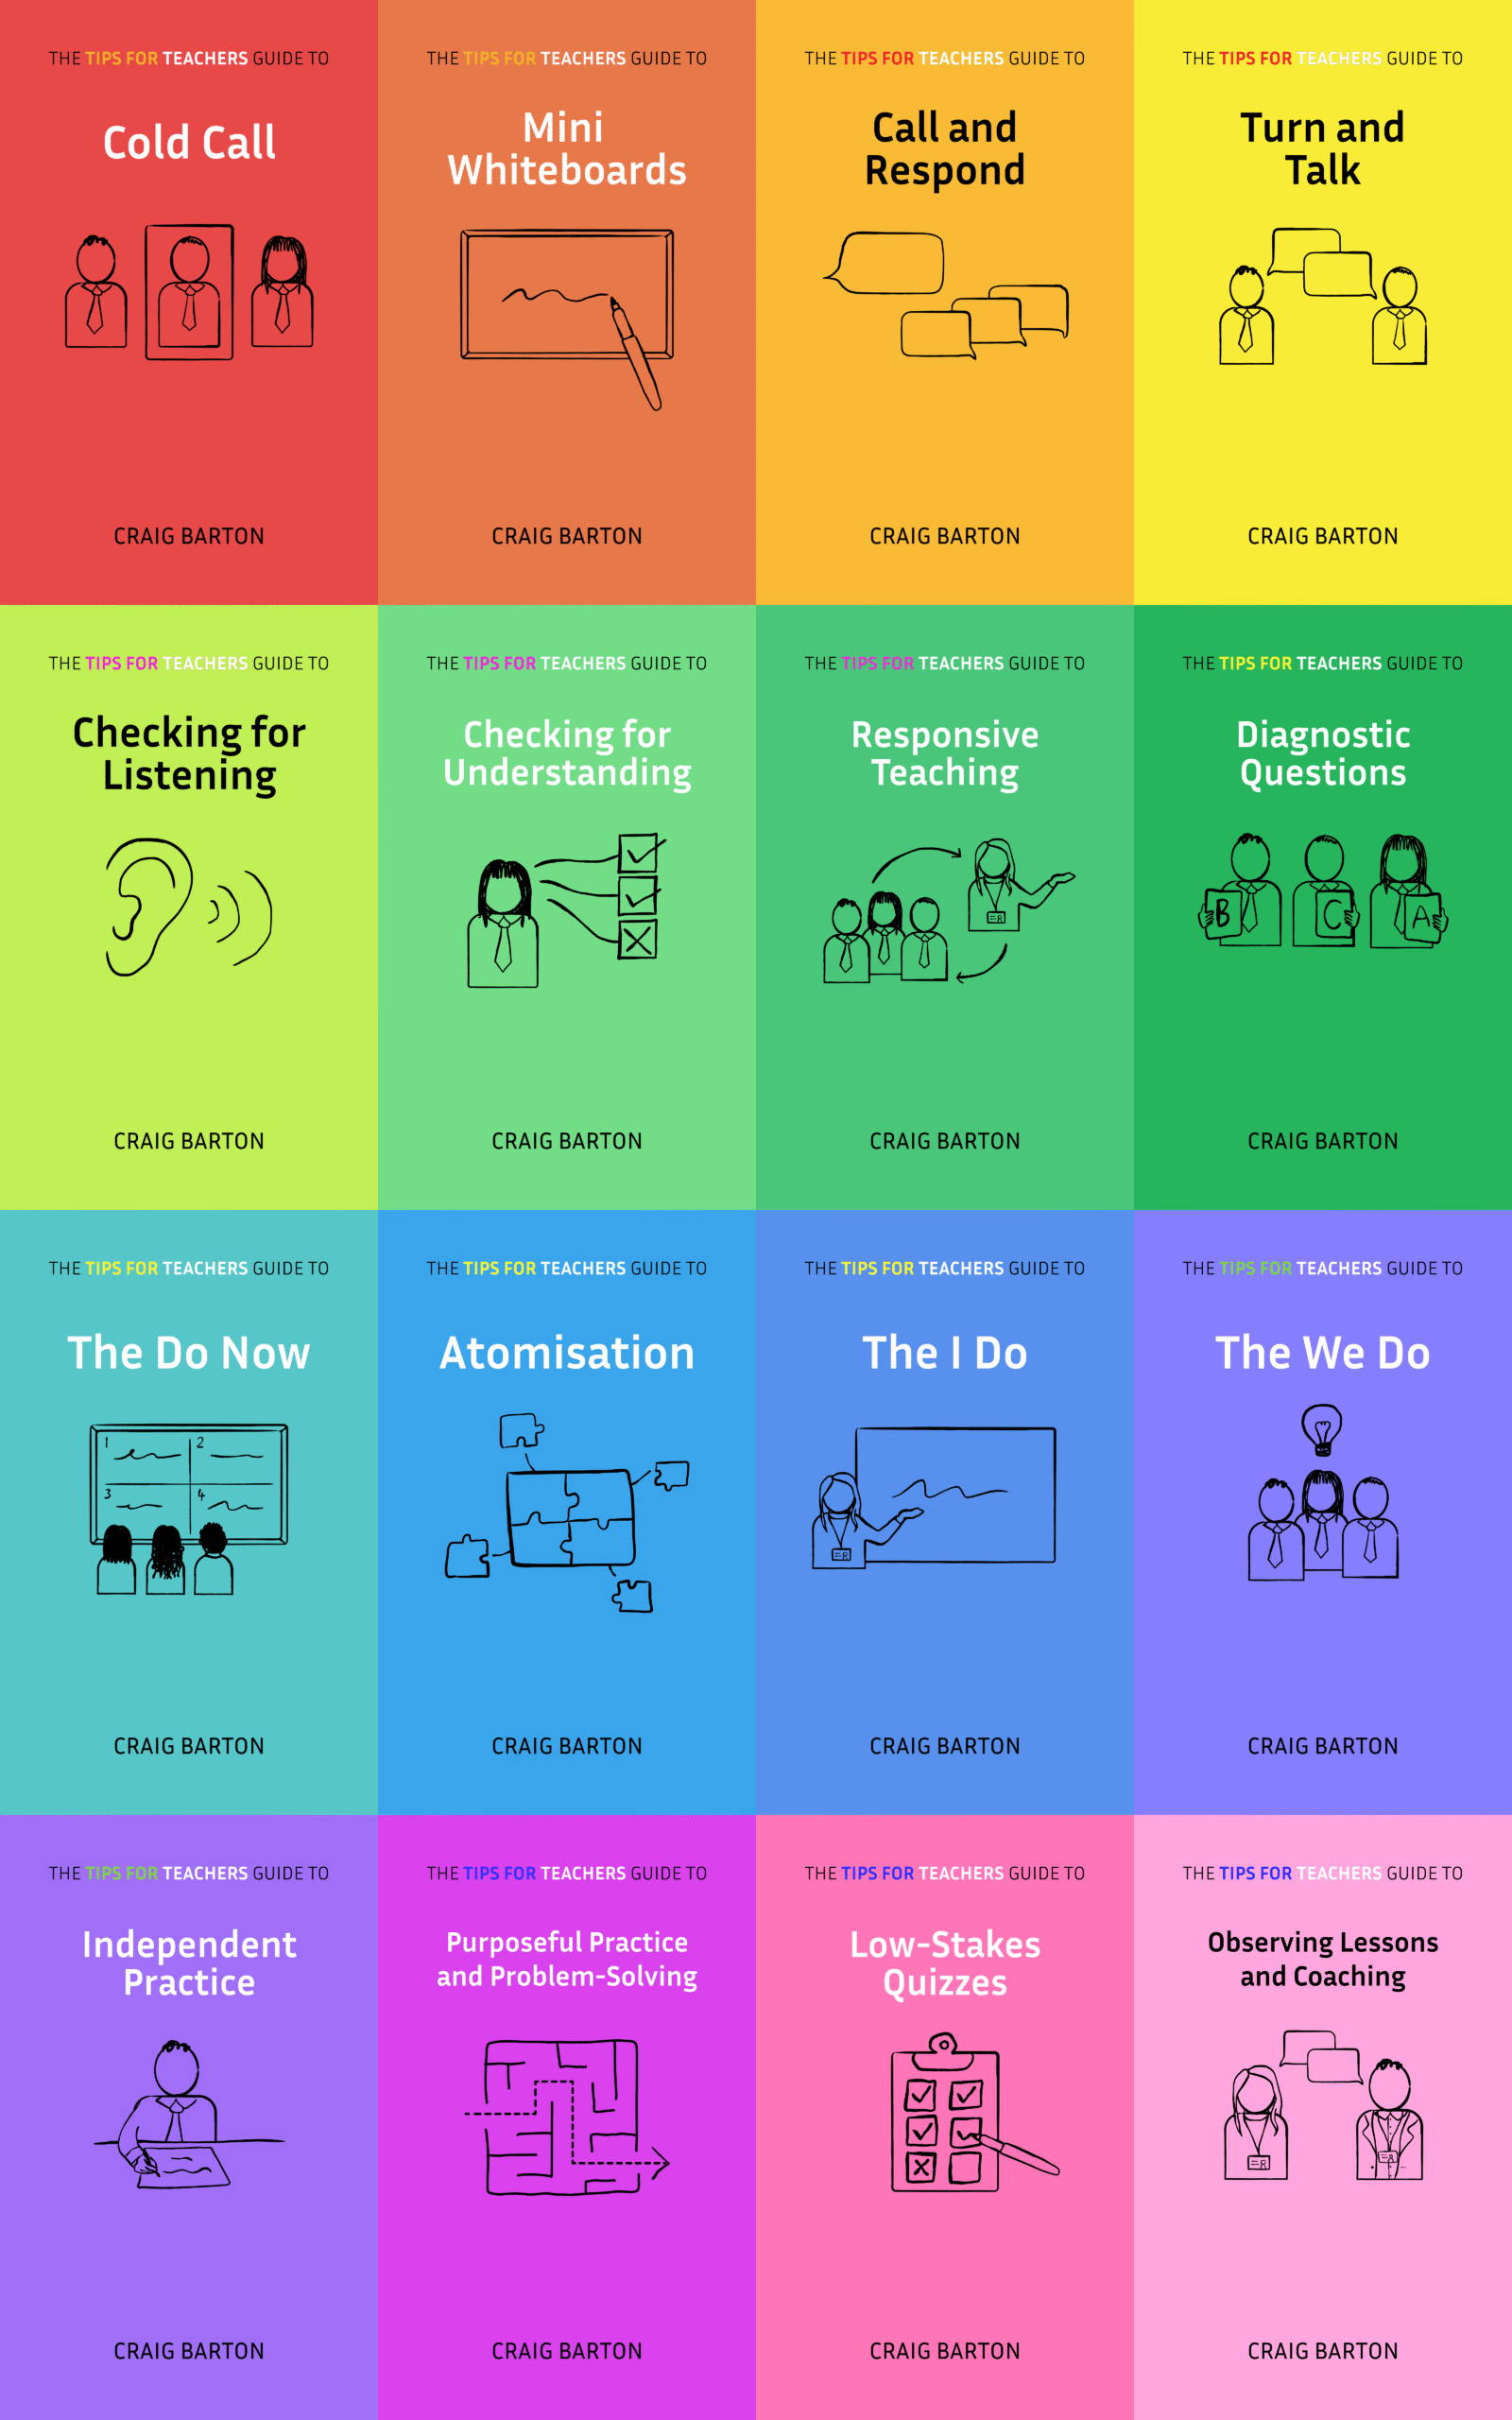
***You can purchase a book on mini-whiteboards in paperback or on Kindle, or two 90-minute online workshops on Mini-whiteboards: Routines and Mini-whiteboards: Checking for understanding that you can share with colleagues at a CPD event or departmental meeting: ***
Mini-whiteboards are exactly what they sound like – an individual-sized board that a student can write an answer on. Sometimes they are called Show Me boards.
Diagnosis
Whether you are a mini-whiteboard fanatic, dabbler or sceptic, please complete this exercise:
- Write one reason to use mini-whiteboards in a lesson
- Write another reason to use mini-whiteboards in a lesson
- Write a reason to use mini-whiteboards in a lesson that no one else will think of
- Write a reason not to use mini-whiteboards in a lesson
If you are doing this exercise with a colleague, compare your answers
Evidence
There are lots of reasons not to use mini-whiteboards:
- The cost of buying and replacing
- The time lost in handing them out, and collecting them in
- The time lost in embedding a mini-whiteboard routine
- The possibility for misuse
- They may (at first glance!) seem inappropriate for some types of answers
These are the potential costs of using mini-whiteboards.
For many teachers I work with, that is the end of the story. The costs outweigh any benefits.

However, there’s one reason to use mini-whiteboards, and it is a big one: You get to see the responses of all students, to any question type, immediately.
This is not true of any other means of participation.
- With hands-up and Cold Call you hear from one or two students at a time
- Circulation takes time to see every book.
- During a Turn and Talk every student may participate, but you will not hear every response
- Voting devices such as ABCD cards are only suited to specific question types.
Seeing the responses of all your students brings several benefits:
- You get a much more reliable check for effort and understanding
- Because students know they are all going to be called upon to share their answers, more students are thinking, thus boosting the Participation ratio
- More students get more opportunities to feel successful
- Your quieter, less confident students have more opportunity, and are more willing, to participate
- Because you can see all your students’ responses, you can respond more appropriately, moving on quickly if understanding is secure, or spending more time on a concept when the mini-whiteboards show your students are struggling
- You can choose to use students’ responses strategically, grabbing two boards with different answers to compare, or calling upon students with specific answers to share their thinking with the class
- You can support other means of participation, such as asking students to write on their mini-whiteboards before a Cold Call, or place their boards in between them during a Turn and Talk
I believe that the unique feature of mini-whiteboards – being able to immediately see the responses of every student for any question type – and all the benefits it brings far outweigh the costs.

In fact, I’ll go further: I have never watched a lesson without mini-whiteboards, which would not have been improved with the use of mini-whiteboards.
In this section, I aim to do two things:
- Share strategies to reduce the cost of using mini-whiteboards by developing effective routines
- Share strategies to improve the benefits of using mini-whiteboards by improving how we check understanding.
In further sections of this website, we examine what we can do with those answers and the specific role mini-whiteboards play in each lesson phase.
Solution steps
Part 1: Purchasing decisions
- Don’t get bendy mini-whiteboards
Students will not be able to resist wobbling them
2. Get mini-whiteboards that are blank on both sides
As we will see, you can make good use of both sides of a mini-whiteboard, and that is much more difficult if one side has lines or squares.

3. Get different coloured boards for students with different needs

YPO have them here
4. Consider getting A3 mini-whiteboards

We first tried these with our 6th-form students and then quickly rolled them out across Key Stages 3 and 4. In short, students can either write bigger or include more information, both of which are beneficial.
5. Consider getting J-cloths instead of rubbers
Rubbers become lethal projectiles much more easily than J-cloths and are more expensive to replace.
6. Keep a box containing the lids of any pens you throw away
You will save a fortune by preventing fully functioning pens that have lost their lids from drying out.
Part 2: Mini-whiteboard routines
Mini-whiteboard routines are key to reducing the potential costs of using mini-whiteboards. Designing a mini-whiteboard routine that you and your students repeat over and over reduces the time and attention students need to devote to it.
Here is an example of a simple routine from a school I support:

Adam Boxer shares his routine in this video, and writes about it here:
Mr Y has just finished reviewing his starter and is standing in his Perch. He says to the class, “Quietly, please close your books and put your pens down.” Mr Y waits, Looks and is Seen Looking and says, “Thank you, Claire, thank you, Harry…excellent. Now, I do not want anyone to do anything until I have finished speaking, and if I see anybody moving before I am done, I will not be impressed. Ok, so when I am done, we are going to get the mini-whiteboards. As you can see, in between each table of two is a basket with boards and pens. The student next to the table, so Mary, Hamid, Utsav, Sofia and Davey – no, when I’m finished – are going to hand out the boards in complete silence. Once you get your board, quietly check the pen works, and if it doesn’t I don’t want you to say a word. Just quietly put your hand up and wait, and I’ll sort you when I’m ready. I’m going to ask somebody to say the instructions back to me in a minute so listen up. When I finish, we’re going to get the boards, test out pens, hold up our hand if our pen doesn’t work. All that in complete silence. Let’s quickly check that everybody got that. Ok, where are you going to get a board pen from…Amy? Good. And are you going to get it from the basket yourself or is somebody else handing you yours…Mike? Yup, Hamid is going to give you yours. And once you’ve got your board and pen what do you do…Harry? Good, and if your pen doesn’t work then what…Cary? Fantastic. And are we going to talk while we are doing this…Davey? Super, all in complete silence. We know what to do, now go!”
Now let’s take a deep dive into some possible steps of our mini-whiteboard routine:
- Make five key logistical decisions
1. Decide where the mini-whiteboards, rubber and pen will be stored
Will each piece of equipment be in its own box, or will they be together in a folder? I favour the folder:

If they are in a folder, will it be one set per folder or multiple?
2. Decide when students will get the mini-whiteboards
Will students get the mini-whiteboards as they enter the room, or at the point in the lesson when they need them?
3. Decide how students will get the mini-whiteboards
Will the mini-whiteboards already be on students’ desks when they enter the room, or will students get them from a box:

If you regularly move rooms between lessons and each room does not have its own set of mini-whiteboards, then a box at the front of the class is a good idea. Students grab their folder, or a folder for their pair or row as they enter the room.
4. Decide where the mini-whiteboards go when they are not being used
Sometimes, mini-whiteboards are used for a specific lesson phase, such as the Do Now. If so, where do you want the mini-whiteboards to go when they are not being used so they are not a distraction or take up valuable desk space? Do you want them to go back into folders? Do you want students to put them underneath their exercise books?
I use mini-whiteboards in every lesson phase, so they remain on students’ desks.
5. Decide what happens to the mini-whiteboards at the end of the lesson
- Who takes responsibility for putting the equipment back into folders?
- How do you know if all the equipment has been returned?
- Do you want the folders left on desks ready for the next class, or will they be returned to the box?
There are no right or wrong answers to these questions, but they need consideration.
2. Invoke the Pen Trilogy
- Ask students to test their pens straight away
I have seen many a check for understanding derailed by faulty pens. In the best case, as the teacher scrambles to replace the pen, students look at each other’s work. In the worst case, the whole lesson descends into carnage. Get students to test their pens as soon as they get their mini-whiteboards out and raise their hands in silence if their pen is not working.
2. Train students to put the pen lids on the top of the pens when they are being used
This stops pen lids flying everywhere, distracting students in the lesson, and from getting lost at the end of the lesson.
3. Train students to put the lids back on the pens when they are not being used
This reduces the chance of doodling:

3. Ask students to write their names at the top of their board

When students show you their answers, you can address them by name. This is really useful if you don’t yet know all your students’ names.
4. Boards ready and pens ready before you ask the question
Front-load the means of participation by telling students that they will answer this next question on their mini-whiteboards, so ensure they are ready. And then ask the question.
- We will answer this next question on our mini-whiteboards…
- Get your boards and pens ready now…
- What is 0.4 – 0.03?
This helps prevent the carnage of students scrambling around for their boards or choosing a different means of participation, such as calling out.
5. Train your students to write big
If you cannot see what is written on a student’s mini-whiteboard, there is little point in using them. Students need to be told to write big, or they do this:

An example and non-example gets the message across clearly:

6. Ask students to hover their boards face-down between chin and chest when you have the answer
Here is some textbook hovering:

There are four reasons to ask students to hover their boards in this way:
- It reduces the chance of other students copying
- It shows you who is not working
- It gives you a visual indication of when students are ready and thus improves your timings
- Fewer things can fly off desks
7. Ask students to show their boards on your signal, not before
If students show you their boards at different times, the potential for copying increases:

I like:
- Hover your boards when you are ready…
- Show me your boards in 3, 2, 1…
8. For lengthier procedures: Show me when you are ready…
If you have given students a multi-step problem to solve on their mini-whiteboards, then asking them to quietly show you when they are ready as you circulate the room can be effective. Students can then work at their own pace and – if correct – crack on with the next task.

9. Decide what you want students to write if they do not know the answer
Here are a few options:
- Leave it blank
- Question mark
- Write: “I don’t know”
- Describe why you are confused
I favour a question mark. Holding up a blank board is far too easy, and I need to distinguish between students who do not know the answer and students who cannot be bothered thinking about it. A question mark at least requires some modicum of effort.
10. Insist everyone holds up their board
Again we have the issue of distinguishing between a lack of effort and a lack of understanding. If students learn that they don’t even need to lift their board in the air, this will become too tempting a choice for some.

Interestingly, one reason I have heard teachers give for not using mini-whiteboards is that some students do not engage with them. Let’s flip this around: mini-whiteboards help you see exactly which students are not engaging, so you can then choose how to deal with it. Without mini-whiteboards, those students’ lack of effort may remain undiscovered.
11. Combat students looking at each other’s work
Because students’ answers on their mini-whiteboard are big enough for you to see, they are certainly big enough for their partner to see. Indeed, it is often the case that two students sitting next to each other will show the same answer on their mini-whiteboards.

This is problematic as it reduces the reliability of our check for understanding.
You can reduce this problem by asking students to hover their boards face down. In addition, it is important to convey the following message to students clearly:
No answers are being recorded. I need to know what you know and what you don’t so I can make this lesson as worthwhile for you as possible. So, write down your answer and your answer only, even if you catch a glimpse of someone else’s.
12. Tell students not to rub out their answers
Most students will naturally rub out their answers as soon as they are told to lower their mini-whiteboards. This means so much valuable data is lost:

You may wish to:
- Grab a board to share with the rest of the class
- Ask students to put their boards in between them for a Turn and Talk
- Give students an opportunity to correct their work
This is impossible unless you build an explicit step into your routine to ensure students know not to rub out their answers.
A good way to do this is to front-load the instruction. When students’ boards are in the air, say something like: In a moment, I will ask you to lower your boards. When I do, I do not want you to rub your work out… What do I not want you to do… Tom?
13. Consider having a departmental mini-whiteboard policy
Here are two examples of maths department mini-whiteboard policies involving some of the routine steps discussed above:
Example 1


Example 2

Many readers will wince at the level of prescription. But I urge you to consider how much smoother lessons would be if these routines were embedded, especially in classes with two or more teachers.
14. Turn the routine into a Call and Respond
Once you have a routine sorted, turning it into a set of Call and Respond statements that the whole class can participate in gives the routine the best chance of sticking.
Here is an example from a maths department that decided upon these four rules for mini-whiteboard use:
- When using whiteboards, we are silent
- We don’t doodle
- When we finish writing, hover face down
- We show our boards, after 3, 2, 1..
And here is the slide given to staff to support them:

15. Showcase excellent mini-whiteboard use
As well as sharing students’ boards to focus on their answers, share boards and direct attention to how the answer has been presented. Contrast boards where the students have written nice and big and used the response format you asked them to with boards that haven’t to make it crystal clear to students what is expected.

16. Don’t let standards fall throughout the lesson
I often see lessons where mini-whiteboard use is on-point during the Do Now, but later on in the lesson the routine has gone to pot. Students hold their boards up at different times, their writing becomes minuscule, and generally the routine falls apart.
40 minutes into a lesson, this teacher asked all students to hold up their boards. Only 5 did, but he continued.

Work hard to maintain standards throughout the lesson. Have the routine always visible to you as a reminder to you and your students of what is expected.
17. Start with non-subject content
When a routine is new, students have to dedicate lots of attention to the steps of the routine. This means they have less attention to dedicate to answering the question you have asked them. Therefore, when establishing a routine for mini-whiteboards, it is a good idea to ask them to write something that requires little thought.
Ollie Lovell did this when teaching a class he had never met before. He wanted to quickly establish the steps of his mini-whiteboard routine, so began by asking students to write their favourite food.
Once the steps of the routine are established, Ollie could then proceed to use the mini-whiteboards to check students’ mathematical understanding.
18. Practice, practice, practice the routine!
Routines take time to establish. Initially, this can be frustrating, as our students are not learning as much as they could be. This is the Valley of Latent Potential that James Clear talks about in Atomic Habits, brilliantly illustrated below by Peps Mccrea:

The only way to come out of the valley and enjoy the full benefits of the routine is to keep practising.
I enjoyed this reflection from economics teacher Mason Davis:
Now I know what you might be thinking, “My, there are quite a few steps in that routine”. Rome wasn’t built in a day, and neither was this routine. It’s something that I built with my classes step by step e.g. initially sitting students down, explaining that in future they will need to get a whiteboard and pen when they enter, sit down, and answer the questions on the board in silence. This took a few weeks of practicing until we got it right. Even when we did get it right, I constantly thank students for getting it right e.g. “well done Claire, you’ve got your board and have made an excellent start on the questions”.
After I’d established this, we spent some time (it was weeks…) getting “hover your boards… 1,2,3, show me”. Again, every time we didn’t get this right, we practiced again, praising those that got it right and reminding those that were yet to be successful e.g. “thank you Claire for hovering your board to face the desk, just waiting for a few more people…. 3 more people…. Thank you everyone… now show me!”.
The final step in establishing the routine, and I think probably the most important, is explaining the ‘why’ to the students. For example, why silence focusses attention, why copying your partner gives me and you a false sense of knowing and therefore gives us both inaccurate information about our gaps in knowledge, why repeating questions and recall is good for long term memory etc… this has established buy in, with this activity being the most popular with this class in the recent student perception surveys.
Part 3: Checking for understanding with mini-whiteboards
Once routines are established, we can use a series of strategies to improve the effectiveness of mini-whiteboards to check for understanding.
1. Standardise the format of responses
If you don’t specify clearly how you want students’ answers set out on their mini-whiteboards, they will choose themselves:


This makes it very difficult to check for understanding accurately, either when circulating or when students hold their boards in the air.
Instead, specify exactly how you want the work set out, modelling and checking for listening so there can be no doubt:


2. Control the flow of information
It can be difficult to process 30 mini-whiteboards all shown at once. So, control the flow of information by, for example, asking the back-row of students to show you their boards first, followed by the middle brown, and then the front.

Or, depending on the room layout, do this from the left-hand side of the room to the right.
3. Ask students to lower their boards if they have a specific answer
Another strategy that can be used to help you take in all the information from your students is to write the first answer you see on your whiteboard and ask any students with that answer to lower their mini-whiteboards. Then repeat with the next answer you see.

This filtering process makes it far less likely you will miss an answer.
4. Make use of both sides of the mini-whiteboard
If students only use one side of their mini-whiteboards, their answer can get lost amidst their working out:

You can combat this by specificing exactly how you want their boards set out, or by asking them to circle their answer. But a more effective approach is to ask students to do their working out on one side of their mini-whiteboards and then write their final answer on the other side:

Obviously, you lose valuable data doing this. So, after looking at the side of the mini-whiteboard with the final answer, you can:
- Call upon the student to answer using the back of the boards to support them
- Grab some boards to share with the class. Visualisers are great for showcasing the working out side
- Ask all students to show the working our side and pay attention to key boards you have spotted
5. Only ask for one answer per check for understanding
It is tempting to try to check more than one answer per check for understanding. Resist! All of the following are examples who tried this and missed some wrong answers:


6 Assess multi-step questions using Step-by-Step
Along the same theme, assessing multi-step procedures in a single check for understanding is also tempting. Again, resist! Two problems arise if you do this.
- You miss things
The teacher was convinced all students got Question 2 from their Do Now correct.

But on closer inspection, several students had made an error that was not picked up on as the answer was buried amidst the working out.

2. It’s hard to diagnose issues
A teacher asked students to put their working out and answers to this question on their mini-whiteboards:

Here are four students’ mini-whiteboards:

Notice how challenging it is to diagnose exactly where each student has gone wrong within an appropriate time frame. This is just four boards from a class of 28.
The solution is to ask for each step of the solution.
A teacher did exactly that for this question on frequency trees:

He first asked students to draw the structure of the frequency tree on their mini-whiteboards, without any labels or values. This revealed an issue that the teacher was able to address:

The teacher could spot this error, immediately diagnose the issue, offer a clear and concise explanation, and get all students back on track.
With the correct answer established, the teacher next asked students to add labels to their diagram:

He continued in this manner, building up the frequency tree step-by-step, each time able to take on the data, diagnose, and respond appropriately.

7. Pay attention to the responses of certain students
Even if we have taken all the measures discussed so far to improve the odds of us reliably checking the understanding of our students, it is neither feasible nor sensible to pay equal attention to every mini-whiteboard you see. Here are three groups of students who mini-whiteboards you may choose to pay particular attention to:
- Lower attainers – if they are correct, there is a good chance everyone is
- High attainers – if they are struggling, there is a good chance everyone is
- Students who struggled previously (last question, earlier in the lesson, etc) – to see if they now understand
- Students who show low or high confidence…
8. Ask students to add a confidence score in the corner
To determine the confidence of students when they answer, you can ask them to write a confidence score between 0 and 10 on their boards:

This may help us in determining which students to call upon:
- Board 1 – No response: We could ask this student first to determine whether the response is due to a lack of effort or understanding.
- Board 2 – High-confidence error: Next, we could call upon this student to clarify a common misconception. We must also return to this student at the end of the questioning process to ensure they can identify their mistake and articulate the correct process so they may benefit from the Hypercorrection Effect.
- Board 3 – Low-confidence correct answer: Calling upon this student next may prove a magical moment as they realise that, despite their doubts, they are correct and are probably better at maths than they think.
- Board 4 – High-confidence correct answer: This could be the final student we ask as they may provide a robust explanation that others can learn from
9. Collect student answers on the board
We can see student responses from our privileged position at the front of a classroom. But our students cannot. Sure, we may refer to those responses verbally, but we know that verbal information is transient.
Overcome this by writing student answers up on the board. This not only helps everyone see the answers we are discussing, but also buys us a precious few seconds of thinking time to improve our next teacher move.

We may choose to attach names to these answers or anonymise them depending on the students involved.
10. Use the Tick Trick to help students reflect on their work
Students have a habit of only focusing on the final answer to multi-step questions, and so long as that matches what the teacher has, they are happy. This is especially problematic in a subject like maths, where you may want students to follow certain methods or include specific steps in their working out.
I watched a teacher ask students to set their work out exactly as he had done for this question:

Here are four of their boards:

All students have the correct answer, but none have done exactly what the teacher asked.
Step-by-Step certainly helps here. But so, too, does the Tick Trick.
The Tick Trick comes from Adam Boxer, and I love it. Ollie Lovell and I discuss it here.
After students have answered a question, you go through it on the board, allocating ticks for each line of working or important element of the solution:

Ask students to count up the number of ticks they got, and then swap their mini-whiteboard with their partner to check they have allocated the correct number of ticks. Then you can ask who got the full amount of ticks, who missed one, etc, and thus diagnose which steps are being cut out.
11. If there are many possible correct answers, do a Turn and Talk
Asking a question with many possible correct answers makes the check for understanding difficult. But asking such questions is often desirable and sometimes unavoidable. In such circumstances, it is a good idea to instigate a Turn and Talk following the initial mini-whiteboard check.
For example, this teacher asked students to write an example of continuous data on their mini-whiteboards. Here are four of their responses:

The teacher asked the students to swap boards with their partners, mark their answers with a tick if they agreed with them, a question mark if they disagreed, and raise their hands if they had written a question mark. Then, the teacher discussed the answers.
Of course, this does not guarantee that you will catch all the wrong or interesting answers, but in my experience, it works well.
12. Don’t worry about a lack of evidence in students’ books
The more you use mini-whiteboards, the less work there will be in students’\ books. For many teachers – and in particular, for many members of SLT who judge teaching quality on book checks – this is an issue.
Here are several reasons why I don’t think it should be:
- Very few children use their exercise books to revise. In fact, I am not sure that many children look back in their exercise books during the lesson itself.
- Ofsted doesn’t insist upon written evidence in books. If you don’t believe me, listen to my conversation with Ofsted’s Maths Subject Lead, Steve Wren. So long as it is clear that teachers in the department check for understanding using mini-whiteboards and inspectors see consistent evidence of this, then there is no problem.
- I think copying things down into books, in general, is greatly overrated. I think it has become so ingrained in. maths lessons that teachers and students don’t question why they are doing it; they just do it. Read my post, The Myth of Copying Things Down, for more on this.
- Listen to Dylan Wiliam:

Finally, if SLT are giving you a hard time, ask them to come and take part in one of your lessons. Not just watch, but come and take part. Once they realise how much they need to participate, and how little hiding place there is, those objections will quickly vanish.
Part 4: Use Book-to-Board
Book-to-Board solves this problem by asking students to place key information from their books onto their mini-whiteboards at various moments of independent practice.
Here are some use cases for Book-to-Board:
1. Book-to-Board: Circulation
It can be difficult to check for understanding when circulating because students write small:

Or cover their work:

Or are at different points in an exercise:

You can improve your ability to check for understanding during circulation by asking students to copy their final answer for each question they complete on their mini-whiteboard and leave this visible on their desk:

As you circulate, you can quickly compare your final answers to theirs. If all is well, keep circulating. But if you spot a difference, you can interrogate their work into their book.
2. Book-to-Board: One at a time
This is my preferred way of assessing the Do Now. Students complete their work in their books:

Then, instead of the teacher going through the answers or Cold Calling students, they can ask students to copy their final answer for each question one at a time onto their mini-whiteboards.

This means they see the responses of every student, and hence can respond more appropriately.
3. Book-to-Board: Quick check

After students have been working for a few minutes on an exercise, I like to stop them and do a quick check of their answer to an early question:

This informs me if everyone is fine to crack on, if I need to support a small group of students, or – as was the case above – if I need to stop the class and address a misconception.
4. Book-to-Board: Critical question

Before putting all the answers to an exercise on the board for students to self-assess, it is a good idea to pick out one or two critical questions that you would like to see all student responses to:

These may be questions you identified prior to the lesson as important or ones you have seen a few students struggle with during circulation.
Again, as you see all students’ responses, you can respond appropriately.
5. Book-to-Board: Step-by-Step
Step-by-Step also works well to extract valuable information from students’ books. Perhaps you want to check students are setting their work out properly, or whilst circulating, you have noticed a range of answers, and you want to get to the bottom of where students are going wrong. Either way, you can ask students to copy individual steps of their working from their books to their mini-whiteboards.
That’s precisely what a teacher did with Question 4:

She first asked students to show the first step in their solution:

She confirmed the answer and wrote it on the board.

She then asked students for the next step:

She confirmed this:

And then asked for the next step:

the teacher could identify any issues, she could be sure students were setting their work out correctly, and each student had lots of opportunities to feel successful.
Part 5: What to do when the response is not suited to a mini-whiteboard
Answers that require a short response—a word, number, or expression—are perfectly suited for collecting on mini-whiteboards.
We have discussed the use of Step-by-Step, which means you can use a mini-whiteboard to assess multi-step procedures effectively.
However, there are some answers where mini-whiteboards are not ideal:
- Responses that need to be done on paper – those questions that require equipment such as a protractor or compass
- Extended responses – those questions that challenge students to explain using multiple sentences and diagrams
Here, we need to make use of peers.
Let’s say we have asked students to draw a 55-degree angle using a protractor. They need to do this on paper. After they have finished, we can ask them to swap their responses with their partners. They can check their partner’s response and mark it with a tick if they agree with it or a question mark if they disagree. We can then ask students to share examples of question marks, stick these under the visualiser, and discuss them as a whole class.
Or, let’s imagine we have given students a multiple-choice diagnostic question and challenged them to explain why a student might choose one of the wrong answers and explain how they would convince them they are wrong. Students can – and should – respond on a mini-whiteboard. But there will be too much data on each board to make a whole-class check for understanding viable. So, again, get students to swap mini-whiteboards. Then you can ask things like:
- Who disagrees with the response of their partner?
- Who has a different way of thinking than their partner?
You can then choose some of these responses, put them under the visualiser, and discuss them as a whole class.
Want to know more?…
As you know, I can only speak from the perspective of a maths teacher. So, here are some blogs on mini-whiteboards from teachers of other subjects:
- Along with this video, this thread from Adam Boxer is also great. Read the comments for alternate views
- Maths teacher Craig Latimir shares how mini-whiteboards are an essential tool for responsive teaching
- This blog post is great when considering when not to use mini-whiteboards
Implementation planning
Here are the ideas we have discussed:
Part 1: Purchasing decisions
- Don’t get the bendy ones
- Get ones that are blank on both sides
- Get different coloured boards for students with different needs
- Consider getting A3 mini-whiteboards
- Consider getting J-cloths instead of rubbers
- Keep a box containing the lids of any pens you throw away
Part 2: Routines
- Make five key logistical decisions
- Invoke the Pen Trilogy
- Ask students to write their names at the top of their board
- Boards ready and pens ready before you ask the question
- Train your students to write big!
- Hover boards face-down between chin and chest
- Show boards on your signal, not before
- Show me when you are ready…
- Decide what you want students to write if they do not know the answer
- Insist everyone holds up their board, even if it’s blank
- Combat students looking at each other’s work
- Tell students not to rub out their answers
- Consider having a departmental mini-whiteboard policy
- Turn the routine into a Call and Respond
- Showcase excellent mini-whiteboard use
- Don’t let standards fall throughout the lesson
- Start with non-subject content
Part 3: Checking for understanding
- Standardise the format of responses
- Control the flow of information
- Ask students to lower their boards if they have a specific answer
- Make use of both sides of the mini-whiteboard
- One answer per check for understanding
- Assess multi-step questions using Step-by-Step
- Pay attention to the responses of certain students
- Ask students to add a confidence score in the corner
- Collect student answers on the board
- Use the Tick Trick to help students reflect on their work
- If there are many possible correct answers, do a Turn and Talk
- Don’t worry about a lack of evidence in students’ books
Part 4: Book-to-Board
- Circulation
- One at a time
- Quick check
- Critical question
- Step-by-Step
Use these ideas to complete the prioritisation exercise here.

Book and 90-minute online workshops

***You can purchase a book on mini-whiteboards in paperback or on Kindle, or two 90-minute online workshops on Mini-whiteboards: Routines and Mini-whiteboards: Checking for understanding that you can share with colleagues at a CPD event or departmental meeting: ***
