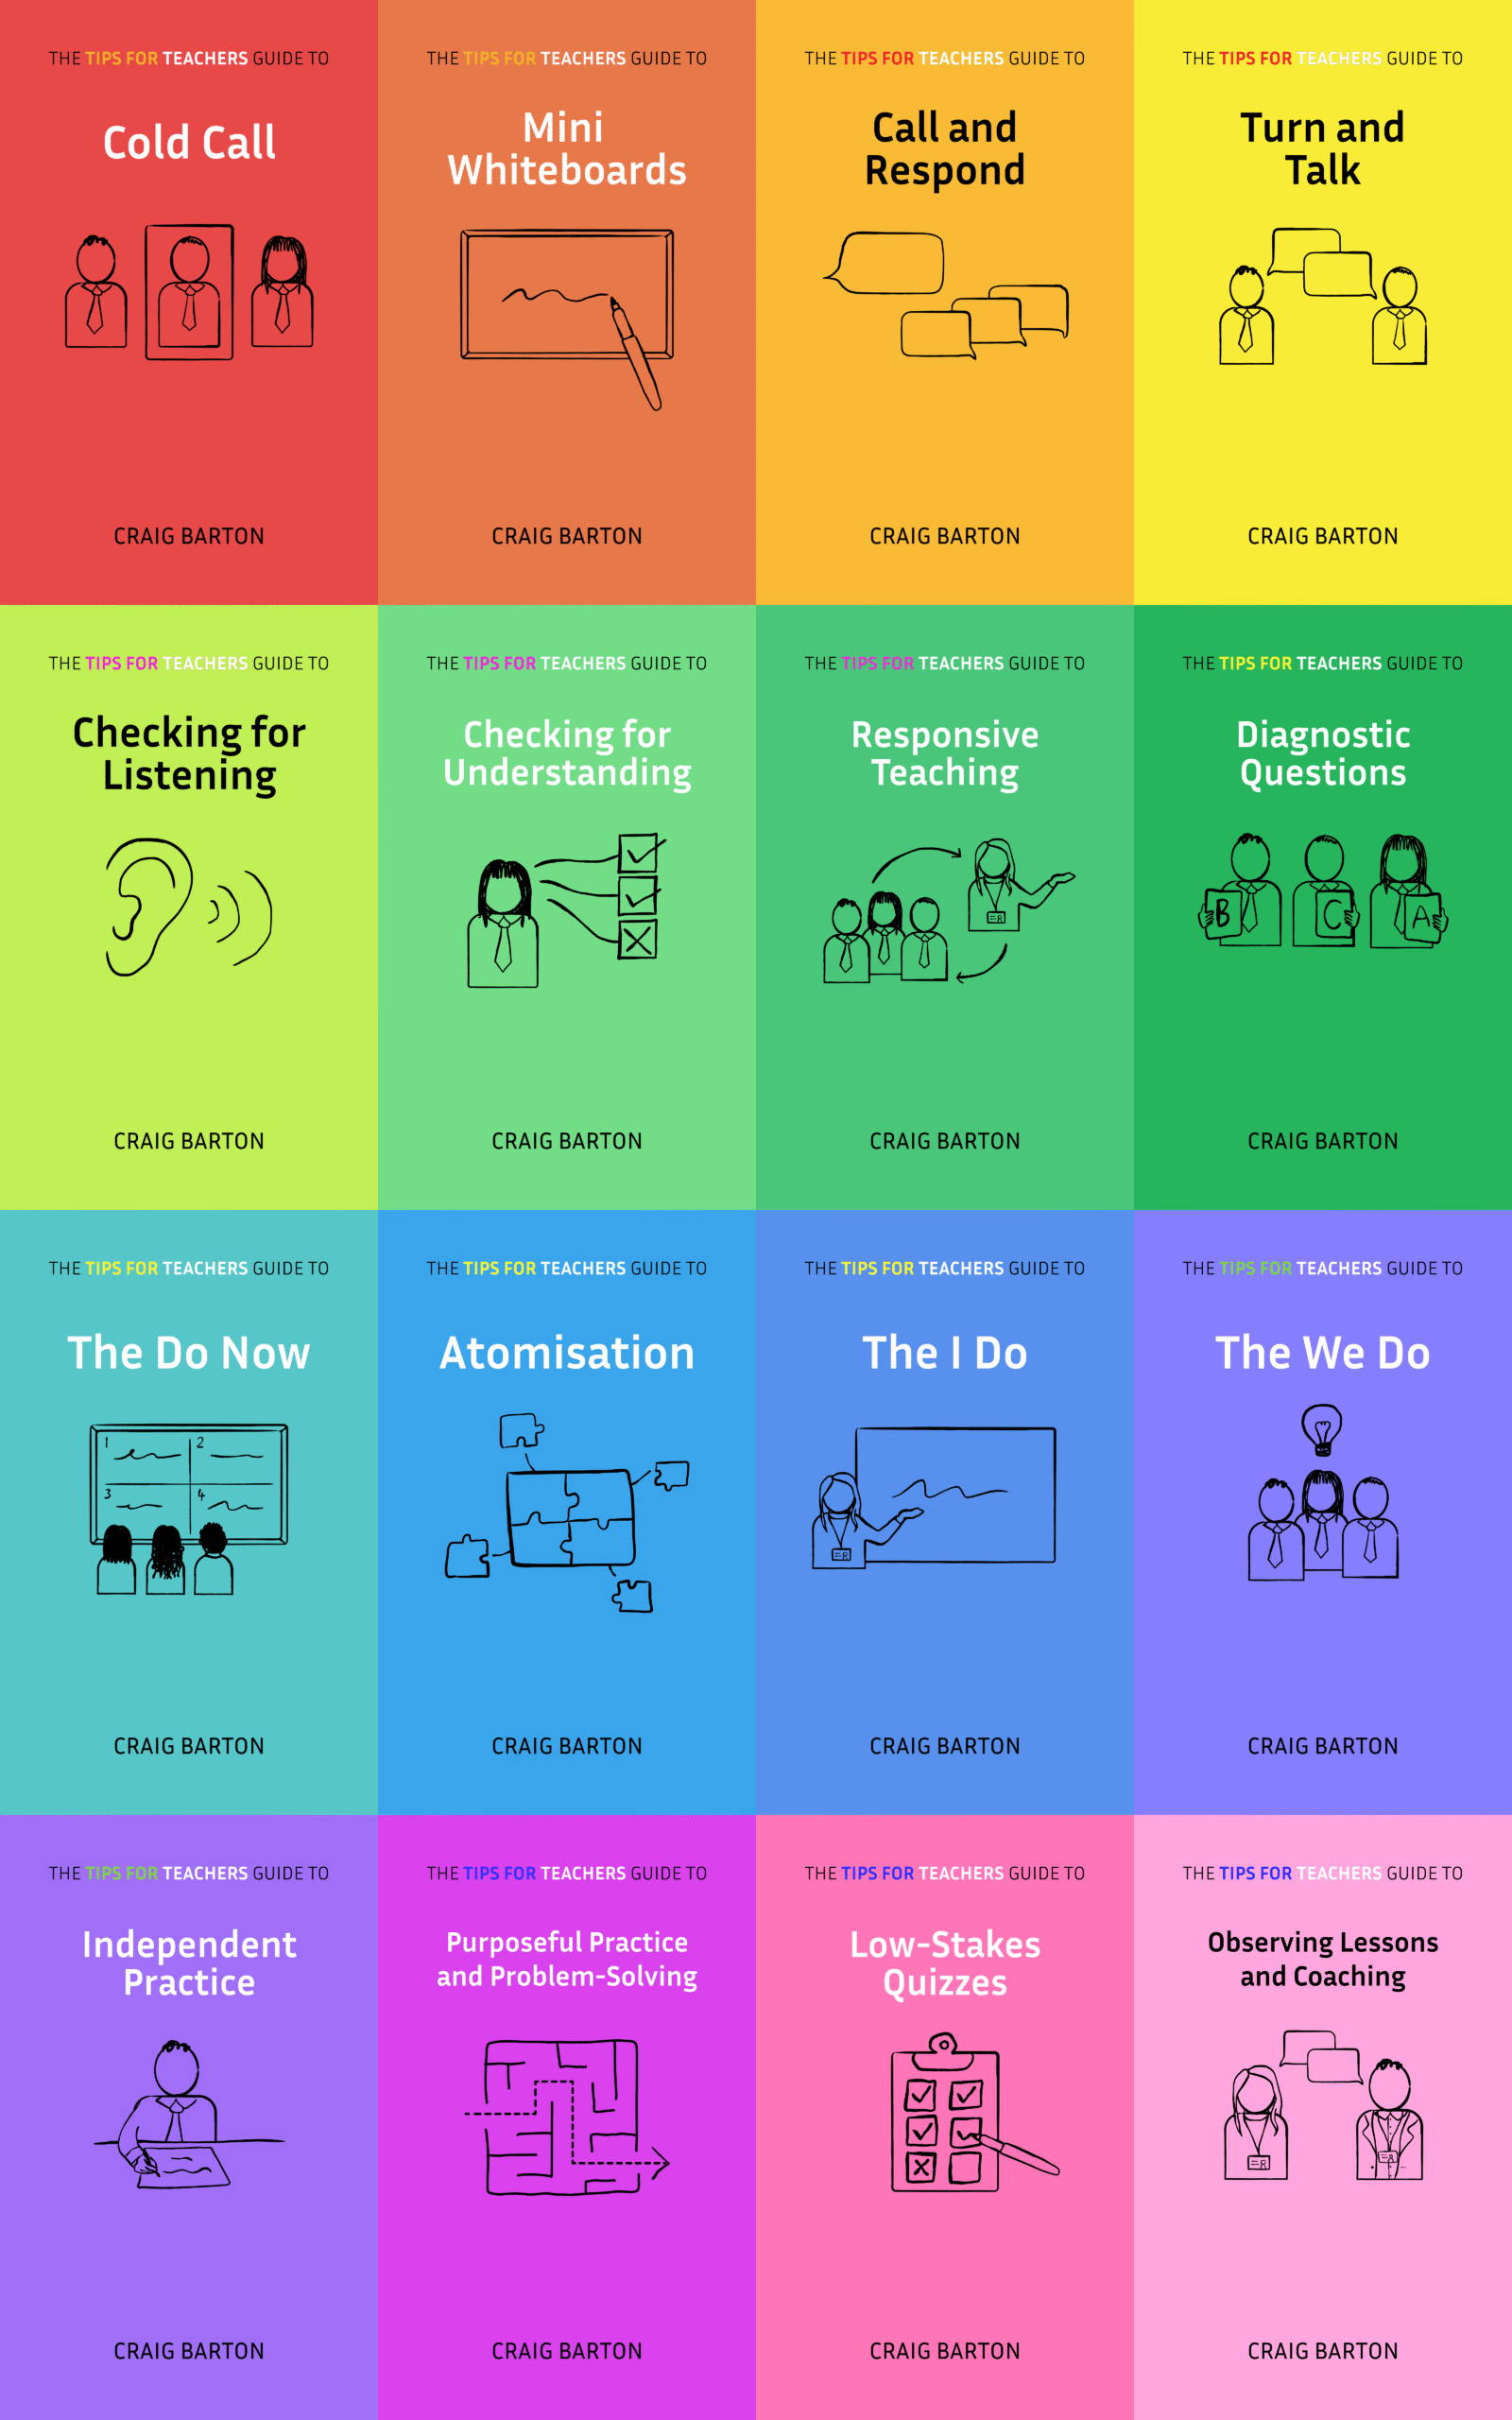
***You can purchase a book on Checking for Understanding in paperback or on Kindle, or a 90-minute online workshop that you can share with colleagues at a CPD event or departmental meeting***
A teacher not checking for understanding is like a painter painting with their eyes closed. However, not all checks for understanding are created equally.
- Diagnosis
- Evidence
- Solution steps
- 1. Before checking for understanding, check for listening
- 2. Don’t rely on poor proxies for understanding
- 3. Vary the question types
- 4. Avoid questions that don’t check anything
- 5. Check for understanding of prerequisite knowledge before you check for understanding of new knowledge
- 6. Allow sufficient thinking time before you check for understanding… and keep quiet!
- 7. Don’t give hints before a check for understanding
- 8. Stop other students from seeing/hearing the answer
- 9. See responses of all students
- 10. Ask the student least likely to know
- Implementation planning
- Book and 90-minute online workshop
Diagnosis
- What are some of the ways you check students’ understanding?
- What challenges do you face?
Evidence
Research shows that improving formative assessment has a significant positive impact on student learning.
In his excellent Responsive Coaching book, Josh Goodrich presents 6 Big Teaching challenges:

Checking for understanding is number 5. If we do not gather data on our students’ understanding, all the effort we may have put into optimising our explanation and designing the subsequent consolidation activity may be in vain.
Solution steps
Here are some key principles we can employ to make our checks for understanding as reliable and effective as possible.
1. Before checking for understanding, check for listening
You explain something. You ask a student a question to see if they understand your explanation. They get the answer wrong. Why?
Is it because:
- They do not understand?
- They are not paying attention?
Without further information, we cannot be sure. This is important because our response will likely differ depending on the reason. If a student does not understand, we can re-explain. If a child is not paying attention, we can hold them to account.
However, if we regularly check for listening during our explanations, we have evidence of our students’ attention, and hence we rule out the second possibility.
Not only are checks for listening a great way to focus and sustain attention, they also help us better diagnose the cause of any subsequent wrong answers.
2. Don’t rely on poor proxies for understanding
Many teachers – myself included! – are guilty of being seduced by poor proxies for understanding. In other words, these are things that could indicate that students understand but which, on further inspection, may not be as reliable indicators as we hope.
Here are five such proxies to consider:
- The response of one student
This is a classic that dogged my teaching for years. Sure, the response of one student may tell you a lot about the understanding of that student, but what about the rest of the class? Is their response likely to be representative? If the student in question is a confident, high-attaining student who has volunteered an answer, then the chance is likely to be low. But even if the teacher has chosen a student to answer via Cold Call, it feels risky to hope that their response is representative of the response of all their classmates. And will any student who thinks something different really tell you?
2. Students copying things down
The teacher gives an explanation, the students look on confused, and then that magic instruction is given: copy this down into your books. In my posts, The Myth of Copying Things Down and Correcting in green pen does not work, I argue that a neat exercise book full of notes and corrections is a poor proxy for learning. Copying masks a lack of understanding, and the time it takes means actual checks for understanding get squeezed out. And yet, copying things down has become so ingrained in a lesson’s synopsis that it is done without question or complaint.
3. Students not asking questions
“Has anybody got any question?” said me, after many a muddled explanation. The issue is not with the question itself, but the assumption that the silence that inevitably follows is a good proxy for understanding. There are a whole host of reasons why students may not ask a question – fear of being wrong, fear of letting you down, shyness, apathy, they understand so little that they cannot even form a question, and so on. And yet, time and again, this question serves as a teacher’s sole check for understanding.
4. Students looking like they understand
Students learn pretty quickly that if they look like they understand something, the chance of them being asked to prove their understanding is low, especially if their mate is looking out of the window or filing a rubber with their ruler. A nod is a great way to convey that you understand. So too is a smile. Perhaps some readers will admit, like me, that you have nodded and smiled your way through a meeting or two whilst not having a clue what is going on.
5. Students telling us they understand
Perhaps we could simply ask the students explcitiy: Do you understand?
They may tell us with a nod, or with an old school thumbs up:

Surely if students tell you they understand something it means that they do?
Well, not necessarily.
There are two reasons such self-report is an unreliable measure of understanding:
First, students may have lots of reasons for not wanting to tell us they don’t understand something:
- They may lack confidence
- They may not want to seem dumb in front of their peers
- They may not want to let us down
Second, students are not great at knowing what they understand.
My Diagnostic Questions co-founder, Simon, and I researched this a few years ago. We asked 10,000 students a bunch of multiple-choice maths questions and asked them to rate how confident they felt in each of their answers. Hence, for each student, we had a measure of actual understanding (the proportion of questions they got correct) and a measure of their perception of understanding (their average confidence rating). The results looked like this:

Sure, there is a positive correlation. But look at the spread. The key point is that for any given level of confidence, we cannot be sure of actual understanding. So, any question that ascertains students’ perception of their understanding – Does that make sense? Is everybody happy? etc – is likely to be a poor proxy for actual understanding.
There are three reasons why students are not great at knowing what they understand:
- The Dunning Kruger Effect – when we know a little about something we tend to overestimate our knowledge. You can read the original research paper here.
- Emotional resonance – we may remember the feeling of understanding something more than the content. I discussed this with Claire Sealy here.
- The curse of knowledge – the more we know about a subject, the more we assume everyone else must know it to a similar level. Here is a good paper on the curse of knowledge.
The key point is that any time you feel yourself wanting to ask, “Does this make sense?” (or equivalent questions), instead, do an actual check for understanding. In the following sections, we will discuss what that check for understanding could look like.
As an aside, the graph above suggests something else: Students telling you they don’t understand something may also not accurately reflect their actual understanding. It is worth experimenting with not giving students a chance to tell you they are confused and instead jumping straight into an opportunity for them to demonstrate what they can do. They might surprise themselves.
3. Vary the question types
Imagine you want to assess your students’ understanding of the highest common factor. What questions would you ask them?
Most teachers’ response here is to go for something procedural, such as: Find the highest common factor of 18 and 30.
There is nothing wrong with questions like this. However, to get a truer sense of our students’ understanding, we can vary the types of questions we ask to drive up the Think ratio:

The framework proposed by Pointon and Sangwin is useful here:

All of this is very abstract, so let’s make it concrete with a fantastic example of how this framework can be applied to create a set of questions on the highest common factor, produced and shared by Dan Lewis:

Let’s analyse each category of question, illustrating them with Dan’s example:
1. Factual recall
Example: The common factors of two integers are 1, 2, 3, 6 and 12. What is the highest common factor?
Factual recall needs to come before carrying out a procedure. Do students know what they are actually trying to work out? Do they have the prerequisite knowledge to engage with the new idea?
2. Carry out a routine calculation or algorithm
Example: Find the highest common factor of 18 and 30
This is the most common question type on most worksheets. And for good reason, because fluency in carrying out calculations is important. But there is a lot more to maths than this.
3. Classify some mathematical object
Example: I have an odd integer and an even integer. Which of the following could be common factors: 1, 2, 3, 4?
I am not a huge fan of technical definitions. I much prefer the challenge of classifying. Given some criteria, can students sort the examples from the non-examples?
4. Interpret a situation or answer
Example: If the highest common factor of two numbers is 6, are both integers even, both odd, or one odd and one even?
The idea of giving the answer and asking what you can infer about the question is a powerful one, flipping the usual way of working on its head. Similarly, we could challenge students to interpret a situation by adding a context to the question that students need to unpick to get at the mathematics.
5. Proof, show, justify
Example: Show, with some examples to help, that the highest common factor of two consecutive integers is always 1
Proof does not need to be in the formal, algebraic sense. But questions like these encourage students to try examples logically and systematically as they construct their arguments. For many students, this may be the first time they realise something special about mathematics: you can generalise! In other words, if we are careful about our choices of examples, we can make arguments that we know will apply to any possible number, even though we haven’t tested it.
6. Extend a concept
Example: Find the highest common factor of 12, 18 and 20
Here we have an opportunity to push the concept a little further. That may mean introducing more challenge to the procedure (as in the example above) or weaving in different areas of mathematics.
7. Construct an example/instance
Example: Find a pair of integers with a highest common factor of 8
I am obsessed with asking students to construct their own examples based on certain constraints. You could use the Give an example of framework to make this category of question even more powerful.
8. Criticise a fallacy
Example: Ben says he has found two different odd integers with a highest common factor that is even. Explain why he is wrong.
Identifying and explaining mistakes is so important. They challenge students to think beyond carrying out a routine, and in their quest to interpret someone else’s work, they must also communicate mathematically. You could even go one further and tag on the end: and explain how you would help Ben understand.
Here is another example of the taxonomy, this time applied to the area of a trapezium, produced and shared by Middleton Maths:

One more? Go on then. Here is another from the wonderful Middleton Maths, this time on prime factorisation:

This structure could be used as a low-stakes assessment, homework, or an independent task followed by paired collaboration. It could also simply be used to vary the question types we ask, both when teaching the topic and during subsequent retrieval opportunities.
It is a great way of checking the depth of students’ understanding, and promoting key skills such as reasoning, conjecturing and mathematical communication.
4. Avoid questions that don’t check anything

Recently, I observed a teacher, Mr L, modelling how to solve a pair of simultaneous equations. Let’s pick up his explanation midway through:
…the signs on the ys are different, so we need to add the two equations.
Tom, what is 15x + 5x?… yep, 20x.
The y’s cancel out to leave us with 20x = 40.
To solve, we need to divide both sides of the equation by 20.
Emma, what is 40 divided by 20?… yep, 2.
So, x equals 2…
Mr L gives himself a metaphorical pat on the back, safe in knowing his students are following his work example. His students smile back, concluding they must understand what is happening because they are getting Mr L’s questions correct.
When students tried to solve a pair of simultaneous equations independently, they quickly came unstuck. Neither they nor Mr L could not understand why.
What is going on here?
During the worked example, the teacher asked his students two questions:
- What is 15x + 5x?
- What is 40 divided by 20?
What is the purpose of these questions?
Are they to check students’ understanding of how to solve simultaneous questions? Definitely not, as zero knowledge of solving simultaneous equations is needed to answer them.
So, are they to check that students are paying attention to the model? Again, no. A student could have tuned out of the entire model, pricked up their ears as soon as their name was mentioned, and then answered the straightforward question they then heard. A proper Cold Call technique (question, pause, name) would reduce this possibility, but it is still not a proper check for listening.
So, what purpose do these questions serve?
They are there to convince everyone—teacher and student alike—that things are going well. Teachers convince themselves that their explanation makes sense as their students contribute to the solution. Students convince themselves they understand as they can answer the teachers’ questions.
What is the solution?
Let’s start with something that isn’t the solution: asking students questions that check their understanding of how to solve a simultaneous equation. Students don’t know this yet as they have not been taught it. Sure, some students might be able to figure it out, given time and prompting. But what about the other students? How do they feel? How do they benefit? And what about the opportunity cost of the time this takes?
No, when modelling, two approaches are much more effective.
Only ask questions that check students are listening. And ask these questions for the new, vital part of the process, not the easy parts that anyone can get right without paying attention. Explain to students why you need to add these two equations, and then check if they can tell you. Divide both sides of the equation by 20, and then check if students can tell you where the new equation came from. Use techniques such as Explain, Frame, and Reframe to make these checks for listening more cognitively demanding.
Don’t ask any questions. Assess relevant prior knowledge first. Then deliver a clear and concise explanation linking the things that students are already familiar with within the novel process you are demonstrating.
We discuss this more in the I Do section.
5. Check for understanding of prerequisite knowledge before you check for understanding of new knowledge
I often see students who cannot…
- … solve equations because they can’t do negative number operations
- … use the quadratic formula because of poor calculator skills
- … answer circle theorem questions because they don’t know basic angle facts
In each case, the teacher has fallen into the trap of assuming students were secure in their understanding of concepts they had met before (negative numbers, using a calculator, and basic angle facts), and thus focussed their efforts on teaching new knowledge that built upon these foundations.
But the foundations were not secure, and hence, when the teacher checked students’ understanding of the new idea, the house of cards crumbled.
The teacher then had to play detective to try to diagnose the issue (whether it was the new knowledge or the prerequisite knowledge). At the same time, many students concluded that this was yet another new mathematical concept they were destined not to understand.
Instead of doing this:

We need to do this:

Only then will we know that our students are in the right place to learn the new idea, and also give them the best chance of grasping it.
6. Allow sufficient thinking time before you check for understanding… and keep quiet!
How long do you give your students between asking a question and asking for a response?
If you are anything like the teachers in this research study, the time will be somewhere between 0.7 and 1.5 seconds.
This often happens because of a desire for pace and engagement, the course of knowledge, or in a bid to match the needs of the quicker students who are waving frantically at us to answer our questions.
But, if we can increase the thinking time we give students to a baseline of just 3 seconds – and give longer for more complex questions – then we are likely to see the following benefits:
- The accuracy of student responses increases
- The length and complexity of student responses increases
- The failure to respond decreases
- It is especially beneficial for less confident students
- Students have time to engage in retrieval, not just use their first response
However, as I know from personal experience, breaking the habit of being too quick to call upon students to answer is tough. Here are some strategies that worked for me:
- Tap out 3 seconds
- Say 3 words in your head – “Pythasgroas, Pythagoras, Pythagoras”
- Use a clock
- Think before you write – give 10 seconds of silent thinking time before asking students to write their answers on their mini-whiteboards
Whatever you choose to do, make sure you tell students what you are doing and why you are doing it, and front-load the means of participation. That extra thinking time will be wasted if someone calls out the answer.
For more complex questions, we need to increase students’ thinking time. But be careful not to fall into the trap that this English did when asking her students a challenging question about a poem:

If we talk during students’ thinking time, we risk distracting them. We often tell our students to be quiet—sometimes, we need to listen to that same advice ourselves.
7. Don’t give hints before a check for understanding
Here are four examples of teachers giving hints before checking their students’ understanding:

- “Watch out, there are numbers you don’t need here”
- “Think how you would work out how tall I am”

- Be careful with this one. Watch out for the hidden pair of brackets…

- Remember, we need to add the powers…

All of these come from our desire as teachers to support our students. In each case, the teacher suspects some students may need that extra help and provides it.
But what if students don’t need the help? Well, we will never know, as in each case, the hints were unavoidable. Even worse, the validity of the subsequent check for understanding has been ruined as we no longer have a true sense of the strength of our students’ understanding.
Research also suggests that not giving students easy hints increases the benefits of retrieval practice, and yet – as is often the case – students much prefer and believe they learn more when the hints are nice and easy.
The advice here is simple: don’t give hints before a check for understanding. Instead, do the check for understanding risk and then respond accordingly. That response might be that you give a hint to all students or just to some students, or you find that you don’t need to give a hint at all.
For example, I loved this Year 8 lesson on working out the area of a triangle where the teacher put this question on the board:

Students did not yet have the tools to solve it, and so to them, it was an impossible question. But the teacher gave nothing away. They just put the question on the board and asked the students to work out out the answer. Their mini-whiteboards revealed misconceptions that the teacher was able to discuss and resolve:

Or this worksheet on Pyrhgoras from Natahan Day that has an impossible question in it (can you spot it?):

In each case, an easy hint would have robbed students of an opportunity to think hard, and reduced the validity of the check for understanding.
A variation on this theme is to provide hints, but make them avoidable. So, the hints could be on the back of the piece of paper, or only revealed on the board after 5 minutes. Or when setting students off to answer a question, we refrain from giving a verbal or written hint to the whole class, and instead save it for the specific students who we identify as needing it as we circulate the room.
8. Stop other students from seeing/hearing the answer
Here are two examples from recent classroom visits:
- Teacher: What is 9/12 simplified, Jenny?
- Tom: 3/4
- Teacher: Tom, you are not Jenny… Jenny, what is the answer
- Jenny: 3/4
- Teacher: Show your boards in 3, 2, 1…

The first is an instance of a student hearing the answer, and the other is an instance of a student seeing the answer. Regardless of whether those answers are right or wrong, the validity of our check for understanding has diminished.
Here are some ways we can stop this happening:
- The message we give our students
Something along these lines works well:
When I ask a question, I don’t want anyone calling out the answer or looking at another student’s answer before they choose themselves.
I want to know what each of you really thinks the answer is so I can help you as best I can.
No one will ever be in trouble for being wrong.
2. Front-load the means of participation
The best way to prevent calling out is to front-load the means of participation. So, instead of this:
- What is the formula to calculate speed?
- Write it on your mini-whiteboards
We do this:
- We are going to do this next bit in silence
- (wait)
- Get your mini-whiteboards
- (wait)
- Remember, silence for this
- (wait)
- On your mini-whiteboards, write down the formula to calculate speed
To make front-loading more effective, check students are listening:
- In a moment, I am going to ask you a question.
- I don’t want anyone to shout out, or raise their hands.
- I want you to think hard about the answer in silence.
- What two things don’t I want you to do?… Sean?
- What do I want you to do?… Sarah?
3. Hover mini-whiteboards face down
As part of your mini-whiteboard routine, ask students to hover their mini-whiteboards face down when they have written their answer:

4. Heads down
If you are using a voting device, such as ABCD cards or fingers, asking students to put their heads down before they reveal their choice prevents other students seeing their response:

5. Hold students to account
- Teacher: What is 9/12 simplified, Jenny?
- Tom: 3/4
- Teacher: Tom, you are not Jenny… Jenny, what is the answer
What would happen to Tom if this was your classroom?
If students do call out, or deliberately copy another student’s answer, then hold them to account. This may involve a stern word, or a sanction. Students must be aware that this type of behaviour is not acceptable, and the incentive must be strong enough for them not to do it again, or you can guarantee they – and others – will.
9. See responses of all students
This is the most important principle of all.
The three most common forms of checking for understanding I see in the classrooms I visit are:
- Volunteer
- Cold Call
- Circulation
Each has its problems.
With volunteers, you have a single unrepresentative data point. Classrooms where this is the dominant form of checking for understanding soon slide into a low participation ratio as the rest of the class realise that a few students will dominate so they can essentially stop tying.
Cold Call is better, as you can choose who answers and ensure more students are thinking by asking the question first, pausing, and then selecting the student to respond. But we are still only hearing from one or two students. How do we know everyone else’s understanding?
Circulation is necessary but not sufficient as a tool for checking for understanding. It can take a long time, not everyone is up to the same point, things get missed, and classrooms always have black spots.
So, wherever possible, we want to see or hear the response of all our students. It is the only way to get a true sense of our students’ understanding at any given moment, and hence be able to respond appropriately. My three favourite ways of doing this are:
10. Ask the student least likely to know
Let’s end with a controversial one.
Imagine the following scenarios:
- We can only hear the response of one of our students—perhaps the question is not suited to responding on mini-whiteboards, via voting systems, or call-and-response.
- We can see all our students’ responses, but we want to choose one student to explain their answer.
Which student should we pick?
In each scenario, the best student to ask is the one who is the least likely to know the correct answer.
Adam Boxer calls such students indicators:
Any time you ask a student a question, you make an assumption about what others in the room do or don’t know. That assumption is more or less valid depending on which student you ask (sample skew) and how many of them you ask (sample size).
Adam concludes:
- When checking for understanding in verbal questioning
- Improve the quality of your inferences
- By targeting indicator students
Maths teacher, Sammy Kempner, has similar advice:
If you want to keep your teaching honest, if you want a reliable check as to whether your explanation has made sense, or if students have really understood it as much as you hope, ask the student least likely to know the correct answer.
Who is that student least likely to know? They could be a student who…
- Struggled with this topic in the past
- Missed the previous lesson
- Has a misconception that you have identified
- You suspect has not been listening
- Is low prior-attaining
We could ask this student:
- Via a Cold Call
- To expand on the answer on their mini-whiteboard
- During circulation
- During paired or group work
The worst feeling in any classroom is embarrassment. So, we must be mindful of depressurising learning. We can do this by:
- Not just choosing the lowest prior attaining students
- Sharing the responsibility within pairs and groups – again, Sammy Kempner is great on this
- Creating a culture of error where mistakes are just a normal part of learning
Implementation planning
Here are the 11 ideas we have discussed:
- Check for listening before checking for understanding
- Don’t rely on poor proxies for understanding
- Vary the question types
- Avoid questions that don’t check anything
- Check for understanding of prerequisite knowledge before checking for understanding of new knowledge
- Allow sufficient thinking time before you check for understanding
- Don’t give hints before a check for understanding
- Stop other students from seeing/hearing the answer
- See the responses of all students
- Ask the student least likely to know
Use these ideas to complete the prioritisation exercise here.

Book and 90-minute online workshop
***You can purchase a book on Checking for Understanding in paperback or on Kindle, or a 90-minute online workshop that you can share with colleagues at a CPD event or departmental meeting***